
Create your first project
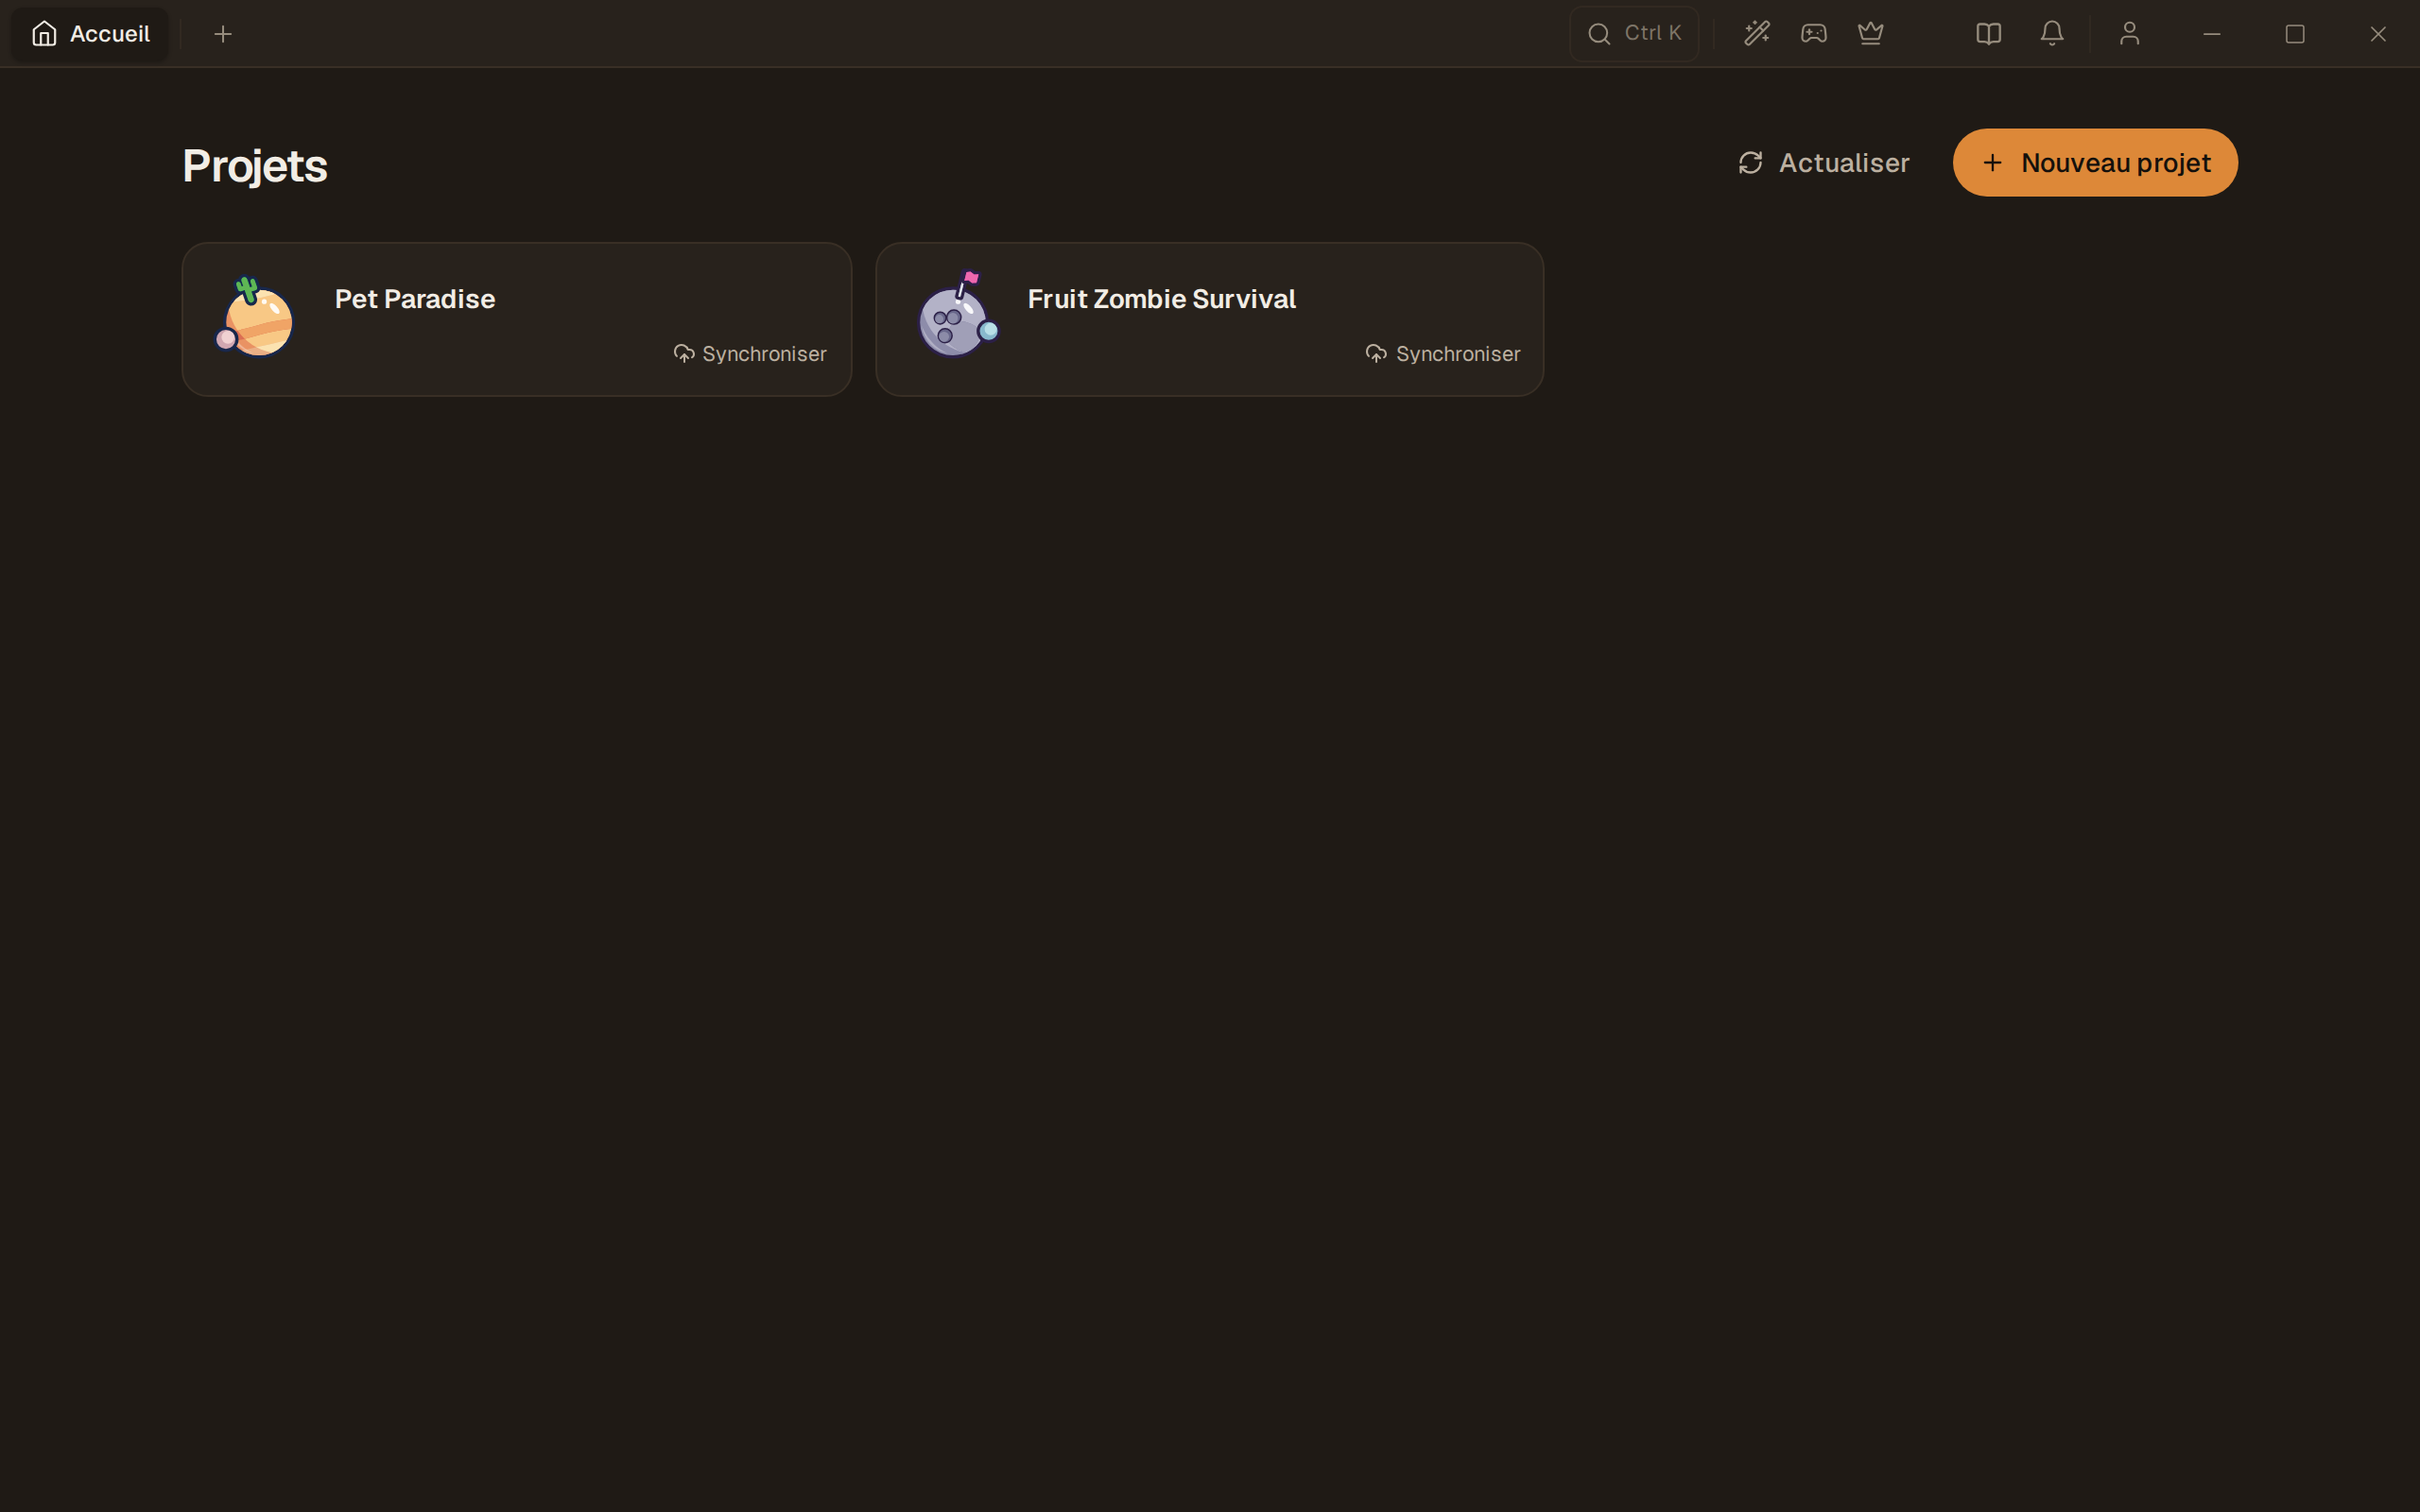
A VibeStarter project is a folder linked to a Roblox place, kept in the agents’ environment. The app creates it from its project template, then syncs it with Roblox Studio while your agents work.
Before you start
Section titled “Before you start”- Roblox Studio is installed on the same computer.
- The VibeStarter Sync plugin was allowed on the first launch — see The first launch.
- Your Roblox account is linked if you plan to publish — see Link your Roblox account.
Create the project
Section titled “Create the project”-
From the projects screen, click New Project.
-
Enter the Game name (example shown: “My awesome game”). Under the field, Project folder shows the name of the folder that will be created, based on the game name: accents removed, spaces replaced by dashes. Change lets you edit it; only letters, numbers,
-and_are accepted. The game name, as you entered it, is the project’s displayed name: tab, card, opening screen. Linking a place does not change it. -
Click Create Project. The app shows “Downloading template and setting up project…”
-
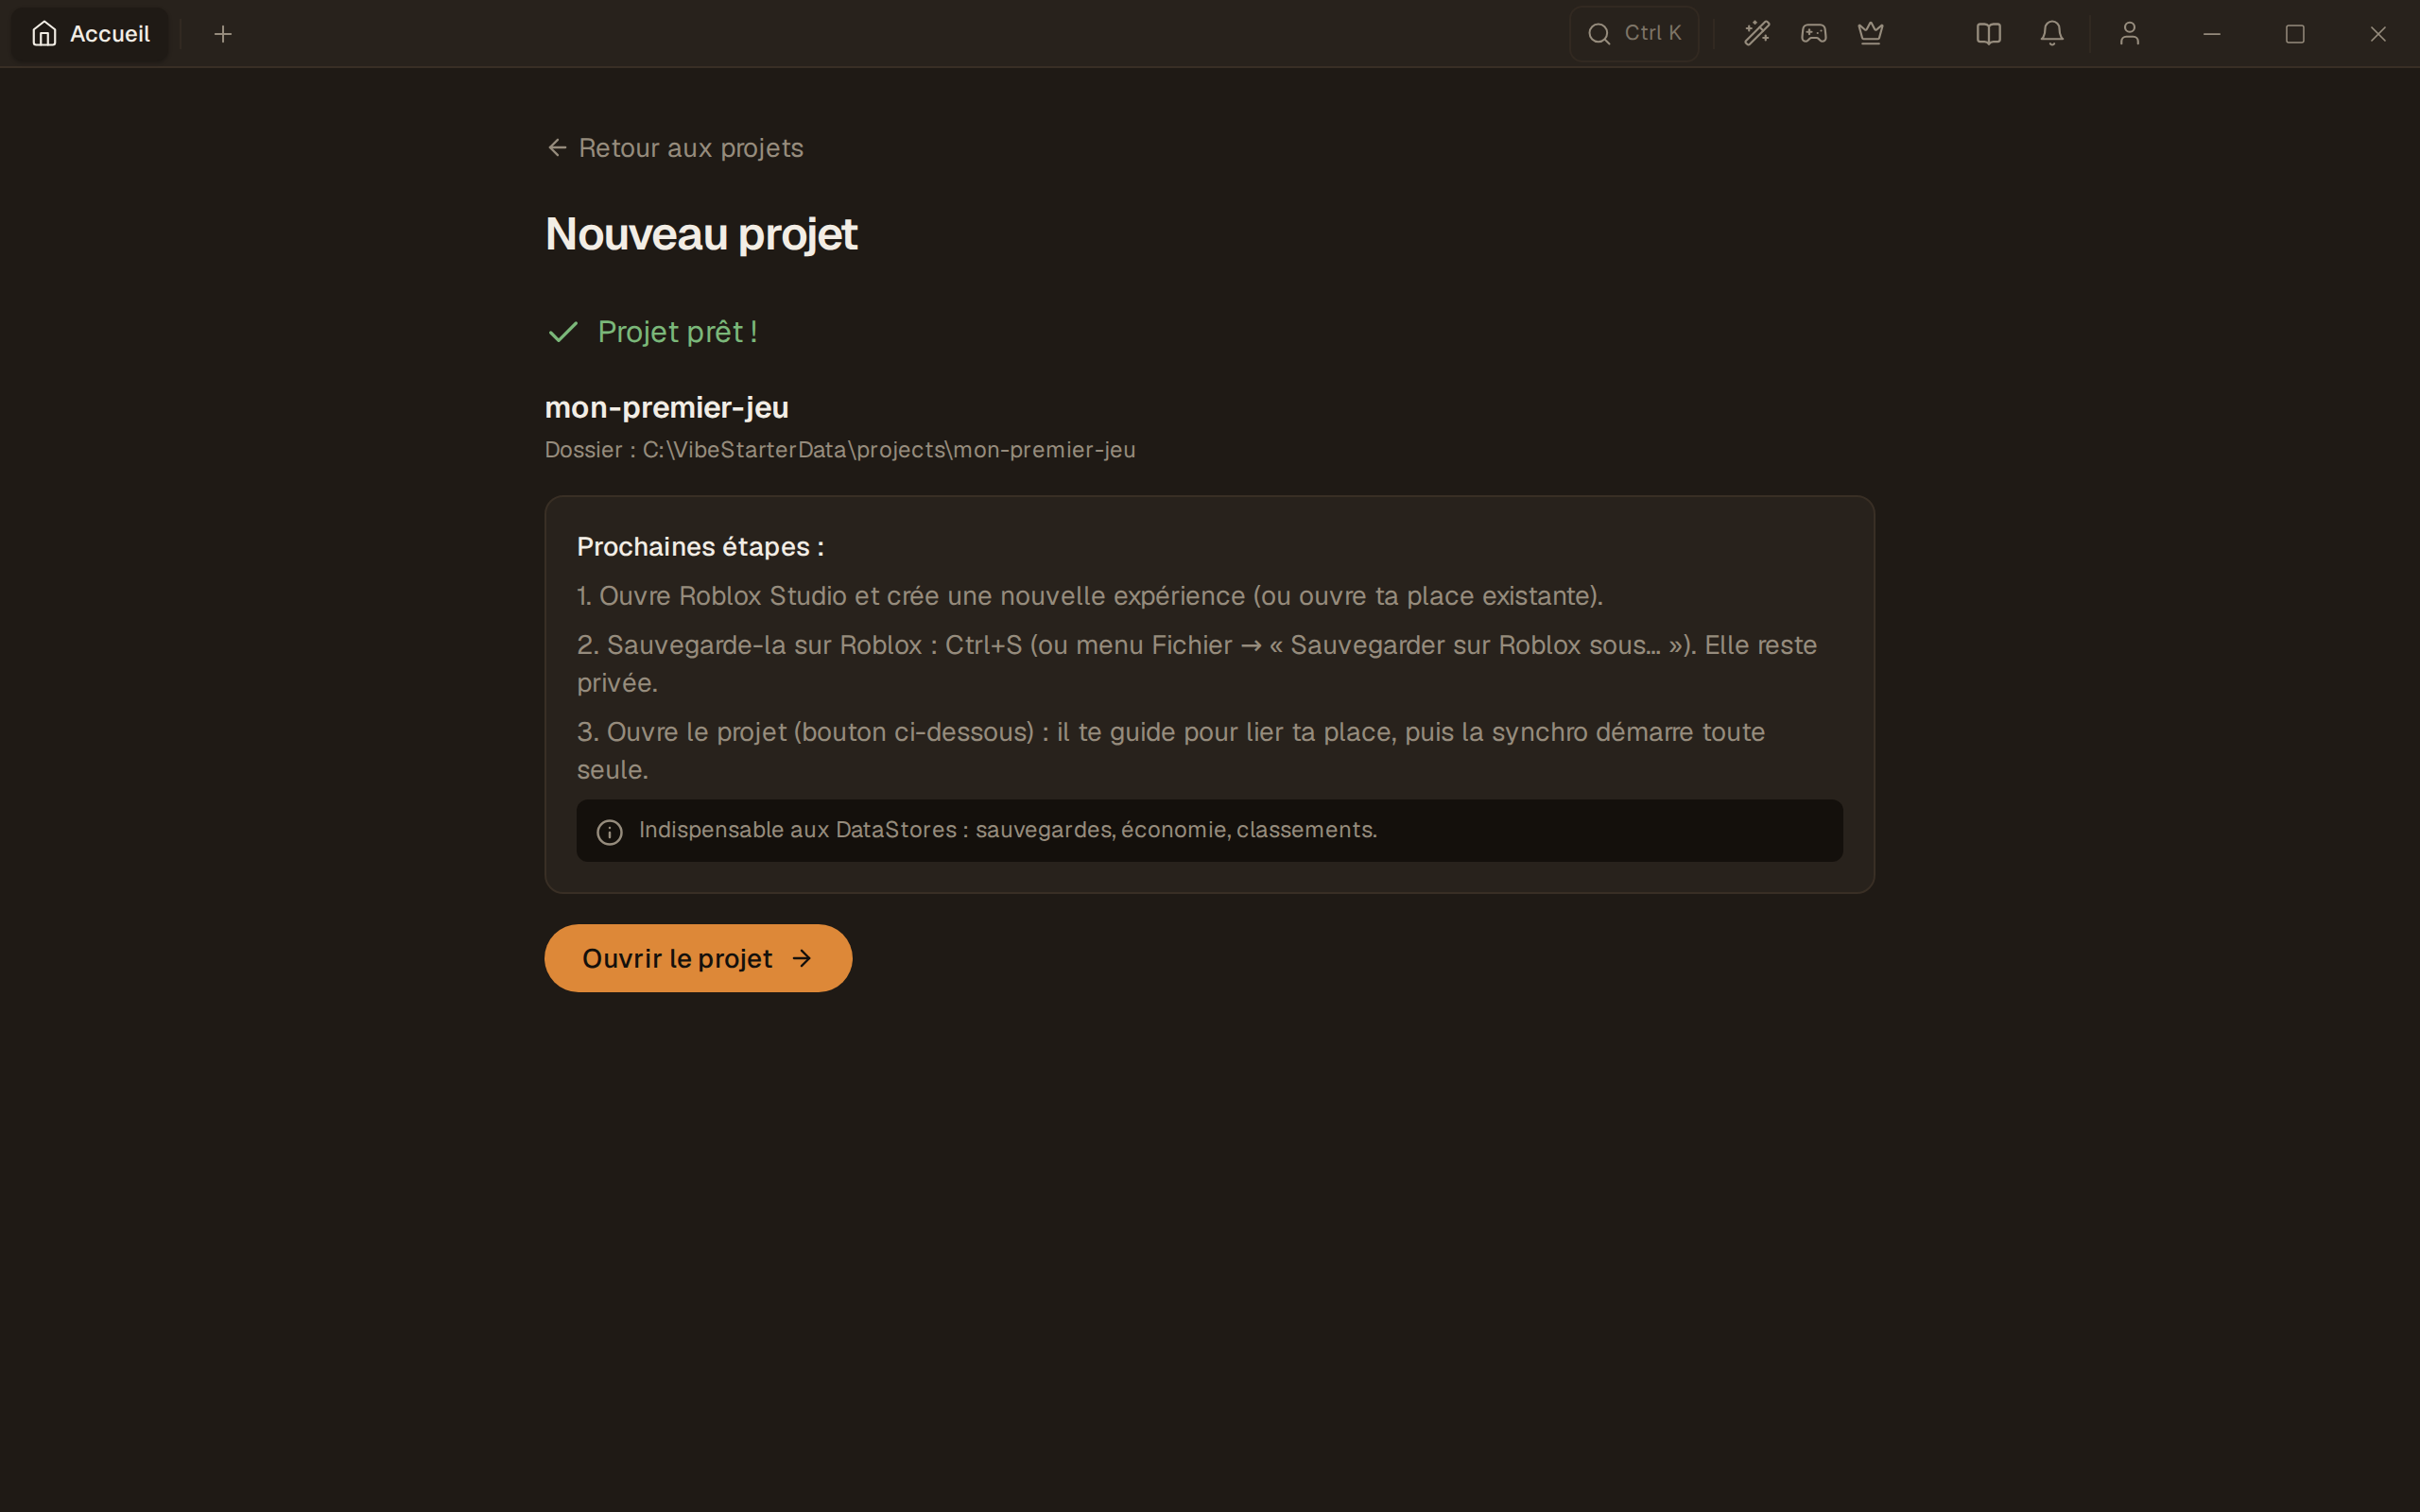
The “Project ready!” screen shows the game name, then “Folder: …” with the location of the folder. The app lists the Next steps to do in Roblox Studio. Do not click Open the project yet.
Prepare your place in Roblox Studio
Section titled “Prepare your place in Roblox Studio”These are the three steps the app shows on the “Project ready!” screen.
-
Open Roblox Studio and create a new experience, or open your existing place.
-
Save it to Roblox: Ctrl + S (Cmd + S on Mac), or the File menu → Save to Roblox As…. It stays private.
-
Go back to VibeStarter and click Open the project. The app guides you to link your place, then the sync starts on its own.
What happens when you open it
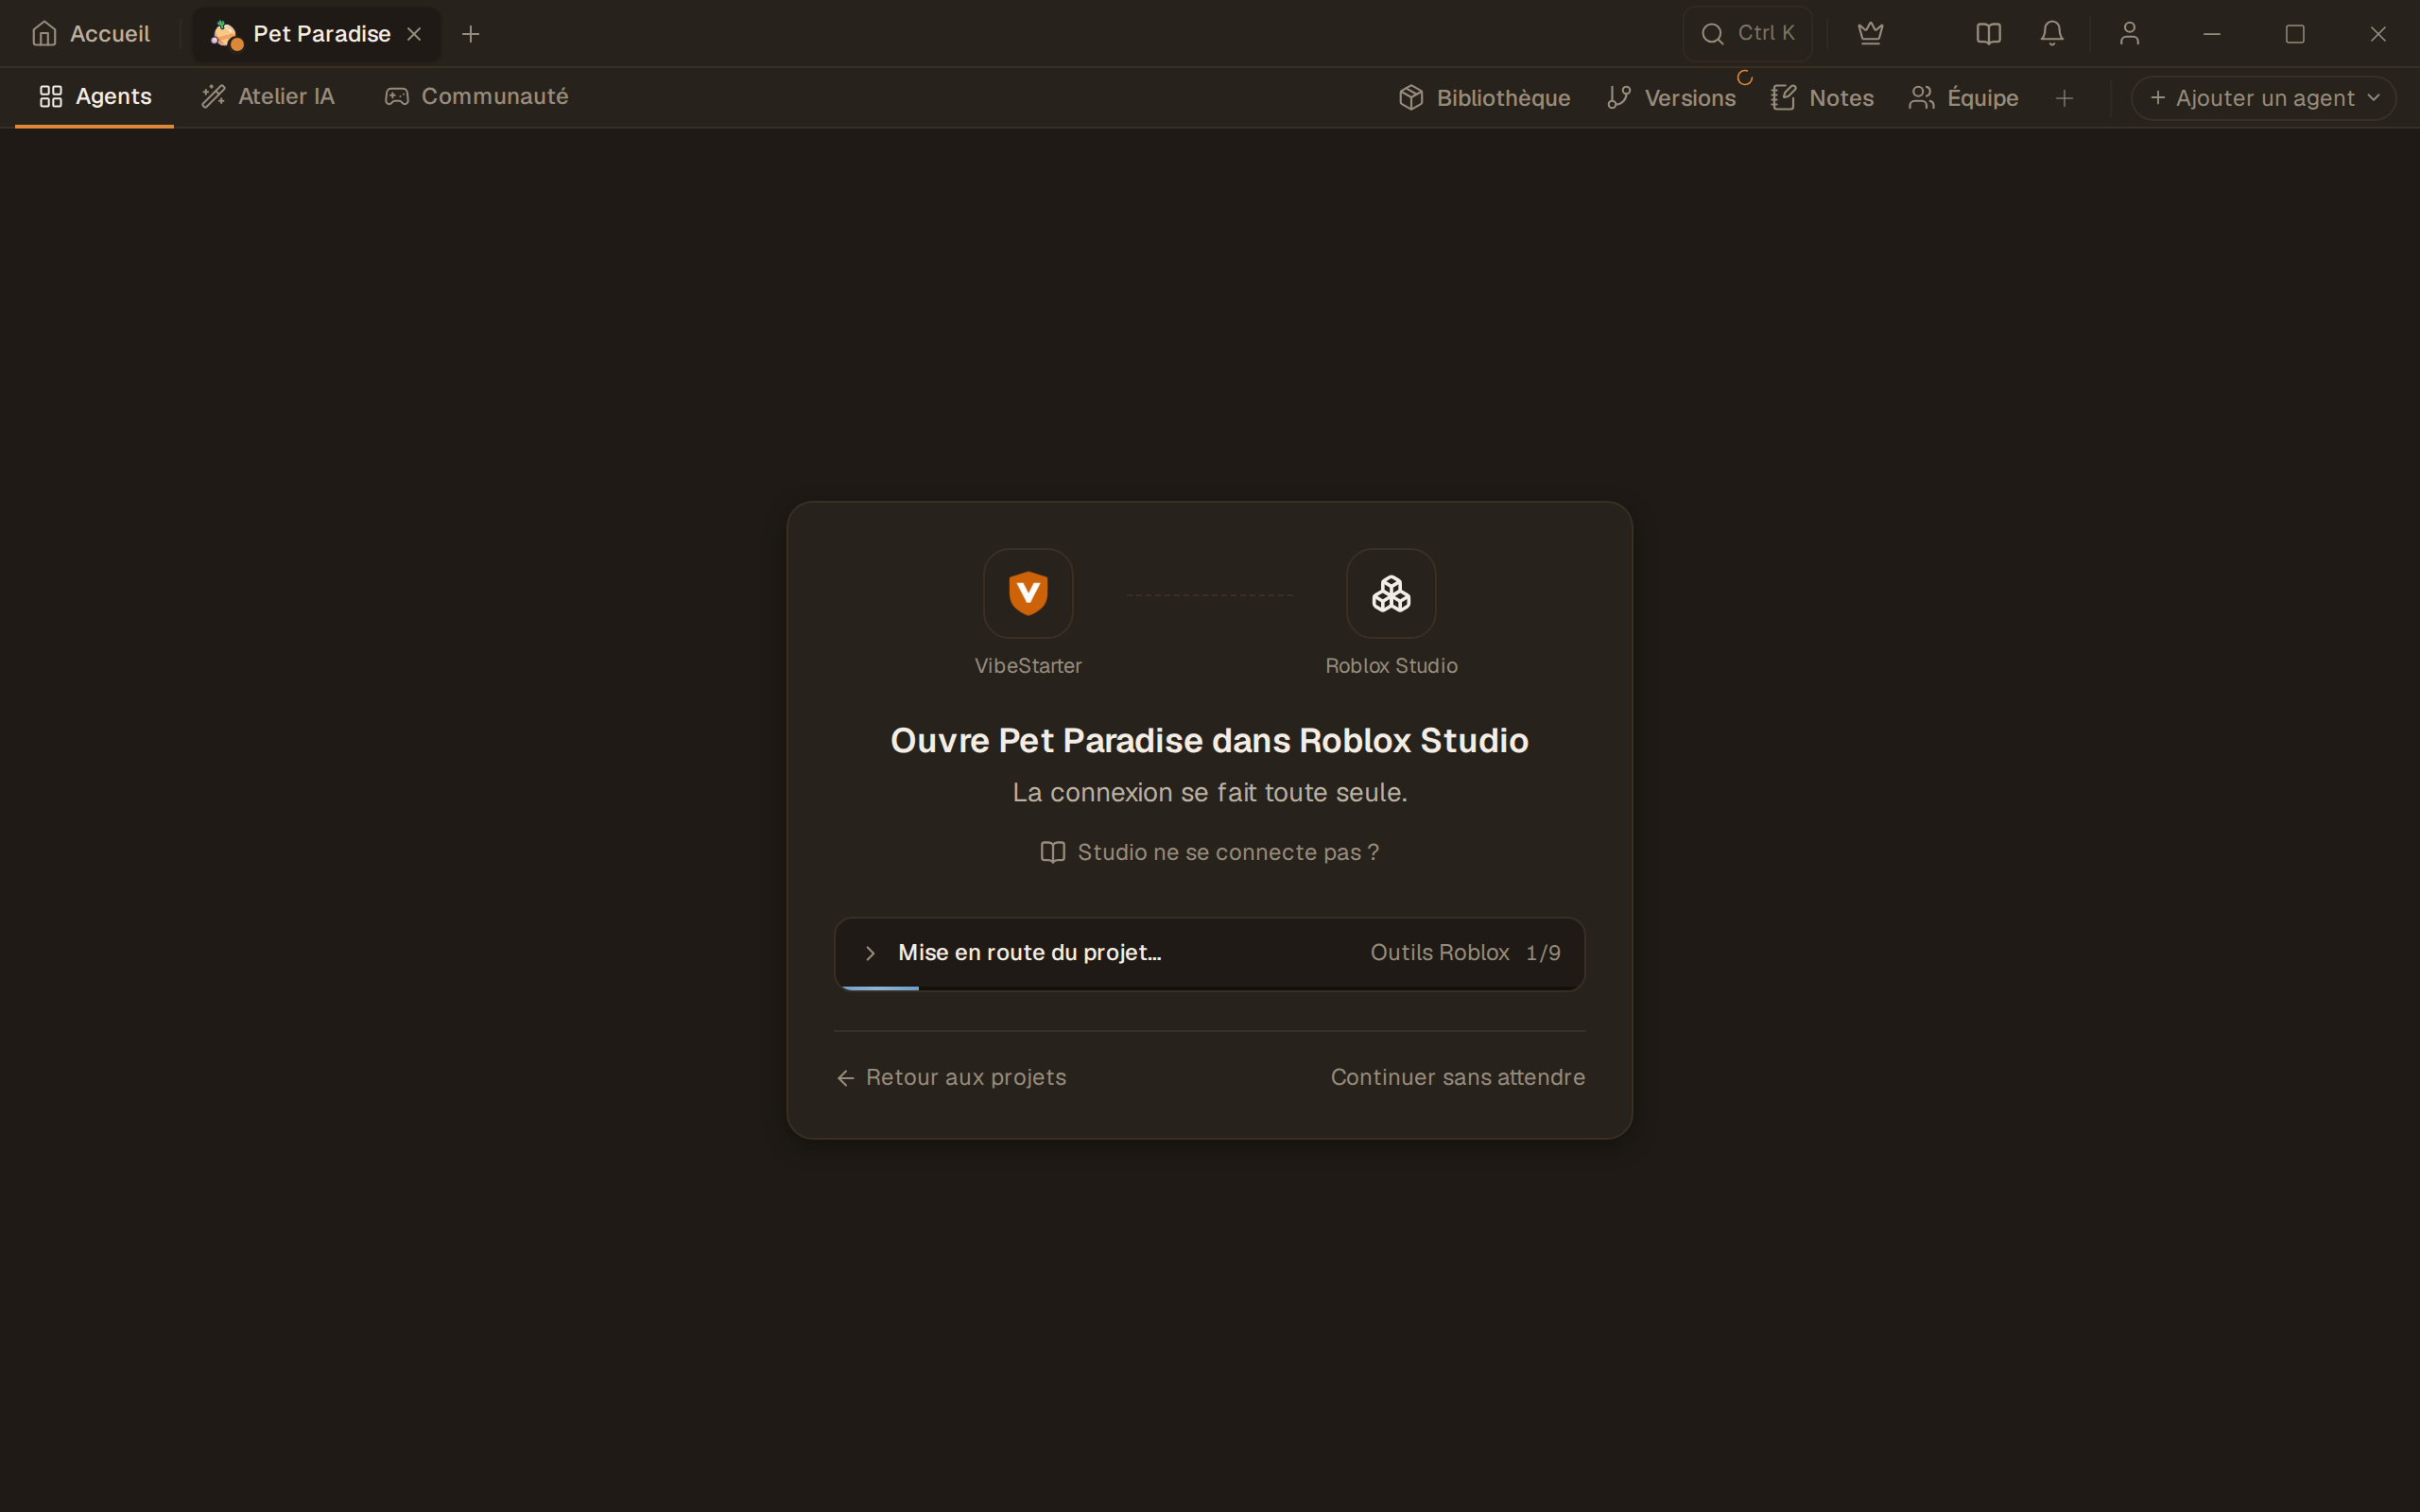
Section titled “What happens when you open it”The app goes through six preparation steps, shown on screen: Code sync, Roblox tools, Dependencies, Roblox packages, Compilation, VibeStarter Sync mirror. The header changes from “Setting up your project…” to “Connecting to Studio…”, then “Ready.” “Almost ready — finish in Studio” only appears if the app is waiting for an action from you: open the place, link it, restart Studio. The project tab follows the same steps, with a pulsing dot and no warning triangle: “Opening…” while it prepares, “Connecting to Studio…” once the place is open, “Sending your code to Studio…”, then “Synced with Studio.” Without an open place, or after Studio is closed, it shows “Open, Studio not connected.”
At the same time, the app watches Roblox Studio. As long as the place is not open, it shows “Roblox Studio is not open.” For a new project, with no linked place, it asks “Open a place in Roblox Studio”: create a place or open your game’s place. Once the place is open, the plugin attaches itself within a few seconds: there is nothing to turn on in Studio. If the place has never been linked, click Link this place.
The details of this link are in Link a place to your project, and how the sync works in Sync, explained.
Launch a first agent
Section titled “Launch a first agent”Once the header says “Ready,” add an agent from the project bar or launch a preset, then click the button in the dock at the bottom of the grid, Launch N agents. If the agent is not connected to its AI account, the app offers to connect it before starting. See Launch and steer your agents.
Close or delete a project
Section titled “Close or delete a project”-
Close is done with the X on the project tab, in the top bar. If agents or terminals are running, “Close the project?” names the project and warns: “The agents and terminals of ‘…’ stop, and its sync with Roblox Studio too.”
-
Delete erases the folder from this computer. The confirmation names the project and says what remains:
- project saved to the Cloud: “Delete the local copy?” — “‘…’ will be deleted from this computer. The project stays in the Cloud: you can reopen it with ‘Open here’. What is not yet synced there, and the images, models and sounds left on this machine, will be lost.”
- a project of yours that the Cloud does not have: “Remove Project?” — “‘…’ will be deleted from this computer. It is not backed up to the Cloud: it will be lost for good.”
- if the app does not yet know where the project stands: “Remove Project?” — “‘…’ will be deleted from the disk. This cannot be undone.”
The details are in Delete a project, or detach it.
Limits
Section titled “Limits”- There is no template gallery. Only one project template exists, and it is downloaded automatically — see The project template.
- There is no button to import a local folder in the app.
- Creating a project requires an Internet connection: the template and the agents’ instructions are downloaded.
- A project is linked to one place. For several worlds, see Several worlds in one game.
Frequently asked questions
Section titled “Frequently asked questions”Can I continue a Roblox game I have already started? Technically, an agent can convert existing code. In practice, it is slow and disappointing: the VibeStarter project template has its own architecture. Starting a new project is the recommended route.
Why can’t I see my files in Roblox Studio? Studio shows the compiled result. The source files live in the project folder, on the VibeStarter side — see The project template.
“The code doesn’t compile right now” when opening: is that serious? No, and it does not block anything: Studio keeps the last valid version. Once the place is open in Studio, the message becomes the title of the opening screen, and the progress bar shows “Sync on hold.” As long as the place still needs to be opened or linked, it appears under the bar. A sentence follows it. With no agent running: “Sync with Studio resumes as soon as it compiles. You can keep going, then launch an agent to fix the error or fix the file yourself.” If a coding agent is already running in the project: “Ask an agent to fix the error. You can keep going.”
“The template download was interrupted.” Check your connection and try creating the project again.
I want to work on two projects at the same time. Open both: each open project becomes a tab in the top bar. See Several projects at the same time.