
The first launch, step by step
On the very first start, VibeStarter opens a wizard that checks your machine, signs in to your account, starts the agents’ environment, and saves your starting preferences. The footer shows “Step N of 10”. Optional steps have a Skip or
Skip for now button.
You can change the theme and the language at the top right, throughout the wizard.
The steps
Section titled “The steps”-
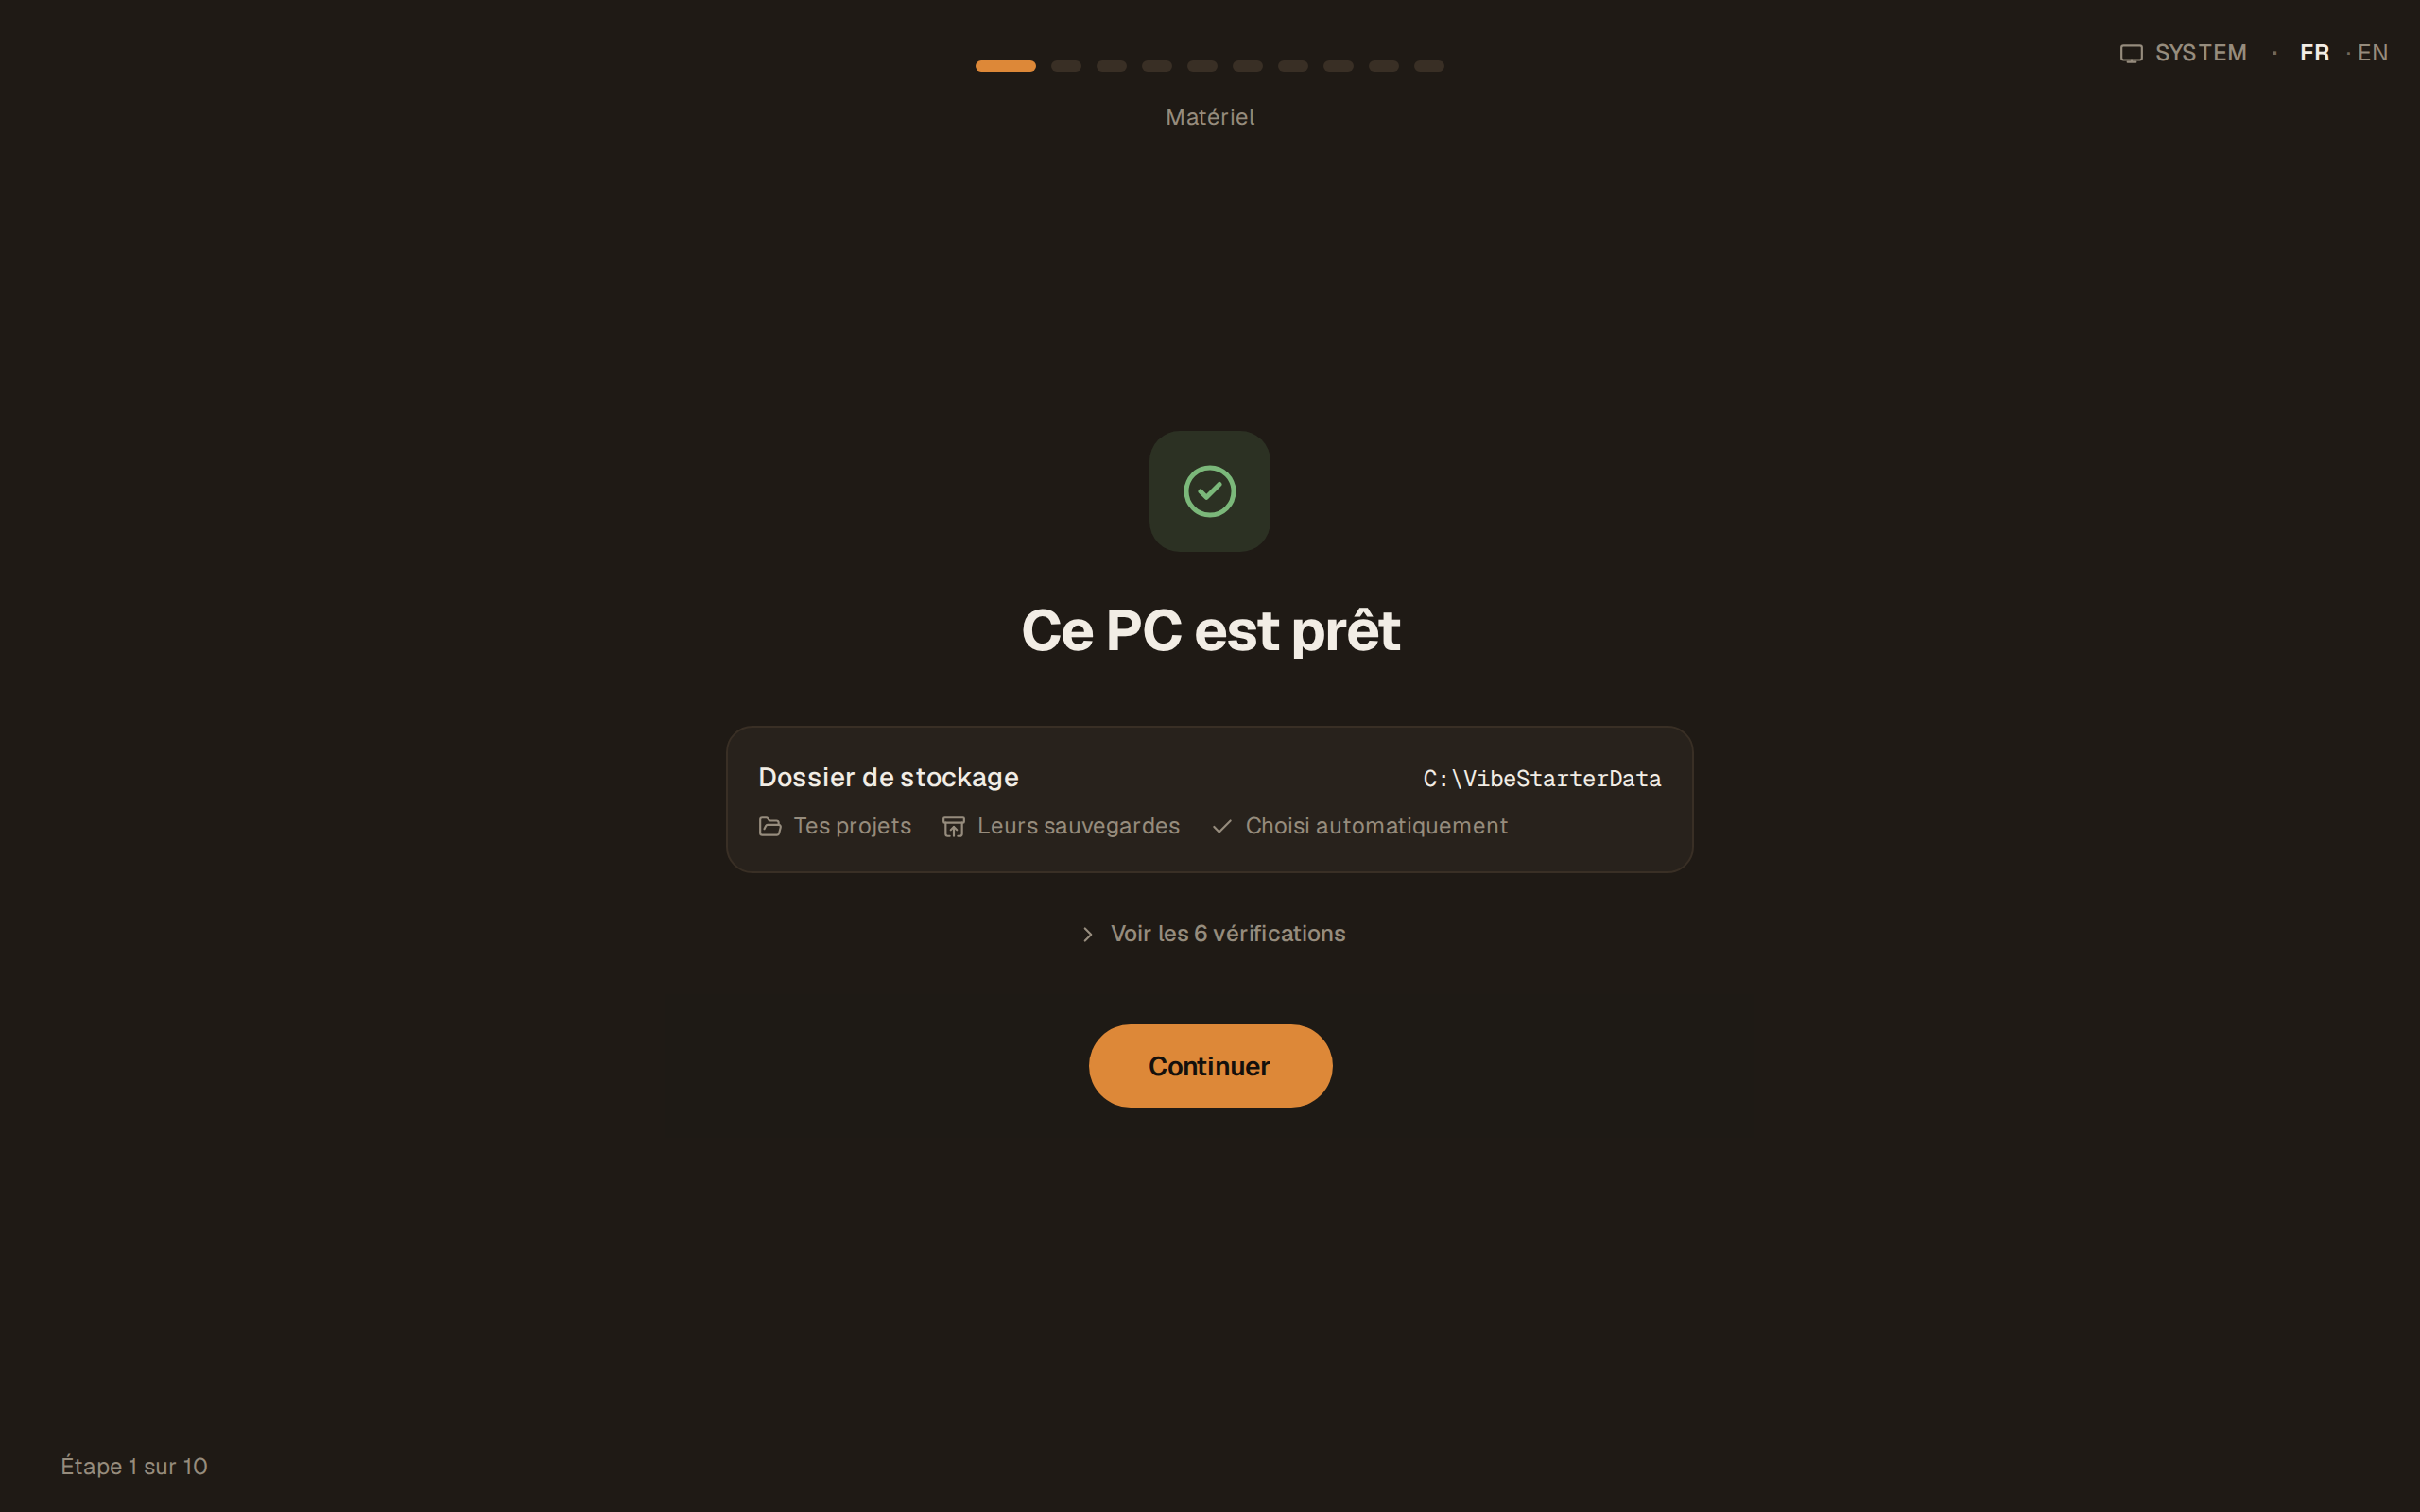
Hardware. The app checks six lines — operating system, memory, processor, acceleration, disk space and the VM package — then shows a verdict, for example “This PC is ready.” When everything is green, the list is folded behind
See the 6 checks. The Storage folder box shows where your projects and their backups will go: on the disk where the app is installed, “Chosen automatically.” See Where your data is on the disk. The Continue button moves on. If there is a warning, it becomes Continue anyway or Continue despite the risk. If there is a block, there is no button to get past it: only Retry and Copy diagnostics, to paste into your request to support — see Check that your computer is compatible.
-
Roblox Studio. One decision: “Allow the Roblox Studio plugin,” with the
I agree — install the plugin button. The text on screen describes what the plugin does: your agents read, change and test the open place, and capture how it looks; what they look at goes to your agent’s AI provider; the plugin does not join any online game and does not read any player data. Once you agree, the app installs the plugin and moves to the next step. It then keeps the plugin up to date and watches the connection to Studio in the background. The link
Later (VibeStarter closes until you agree) closes the app: the step will come back at the next launch.
-
Notifications. Four choices: All notifications, In-app only,
Assets only and No notifications. You can change it later.
-
VibeStarter. The intro screen offers Create my account, which opens the purchase page in your browser, and I already have an account.
-
Sign in. The “Sign in” screen has the form “Connect this computer”: “Get a login link by email, no password needed.” Enter your account email address in the Your account email address field, tick the box to accept the Terms of Service and the privacy policy, then click
Send me a login link. The app stresses the point that makes most attempts fail: “Open the link on this computer,” not on your phone. The link expires in ten minutes; keep the app open, it shows “Waiting for you to log in…” — see Create your account and connect your computer.
-
Welcome. The virtual machine starts, once your access is verified. The steps appear one after another: “Getting ready to launch,” “Setting up your workspace…,” “Starting environment…,” “Connecting…”. The first start can take up to a minute. Then, click
Let’s go.
-
Accounts. Link your Roblox account: it is the account that will publish your creations. A Recommended badge marks it. Skip for now postpones the step — see Link your Roblox account and your Open Cloud key.
-
Subscription. Two options: Get the subscription, which gives you monthly credits for generating assets, or I use my own API keys, which lets you bring your own keys — see AI credits, in practice. During payment, the app shows “Payment in progress in your browser…” If nothing arrives within three minutes, it shows “No payment detected” and the Check again link.
-
Data. “Share with the community”: two switches,
Share my generated assets and Share my imported assets. Without sharing, your assets stay private, in the local library on this computer — see Where your assets go.
-
Ready. “You’re all set!” then Get Started. If a setting could not be saved, the screen shows “Almost there” and points you to the integration settings.
What you can change later
Section titled “What you can change later”| Wizard choice | Where to change it later |
|---|---|
| Notifications | Settings → Appearance & comfort → Notifications |
| Roblox Studio plugin | Settings → Workspace → Roblox Studio plugin |
| Roblox account | Settings → Roblox account |
| AI agent | Settings → Agents & tools |
| Subscription and API keys | Settings → Subscription and Keys & generation |
| Asset sharing | Settings → Storage → Asset destination |
| Theme and language | Settings → Appearance & comfort |
The details of each screen are in The settings, screen by screen.
Replay the wizard
Section titled “Replay the wizard”Open Settings → Application → Onboarding → Re-run the onboarding wizard, then click Replay onboarding.
Limits
Section titled “Limits”- There is no guided tour or interactive tutorial outside this wizard.
- The Hardware, Welcome, Roblox Studio, Vibe Starter, Sign in and Ready steps cannot be skipped.
- The wizard no longer asks which AI agent you will use. You connect yours the first time you launch an agent, or from the settings; the first one you connect becomes your favorite agent.
- Refusing the Studio plugin is not final, but it blocks work with Studio until you agree.
- The interface still mixes “tu” and “vous” in places: the labels are quoted here as they appear on screen.
Frequently asked questions
Section titled “Frequently asked questions”The Welcome step takes forever. The first start of the virtual machine can take up to a minute. Beyond that, and if the message “Hardware virtualization disabled” appears, your machine is running in software emulation: performance is reduced and the new Blender calculations are unavailable — see Check that your computer is compatible.
The wizard did not ask me for my AI account. That is normal: the choice is made the first time you launch an agent, or in Settings → Agents & tools. See Connect your AI account.
I refused the Studio plugin, what do I lose? The agents cannot see or act in Roblox Studio. The step comes back until you agree — see Link VibeStarter to Roblox Studio.
Does replaying the wizard delete my projects? No. It only offers the configuration choices again.